
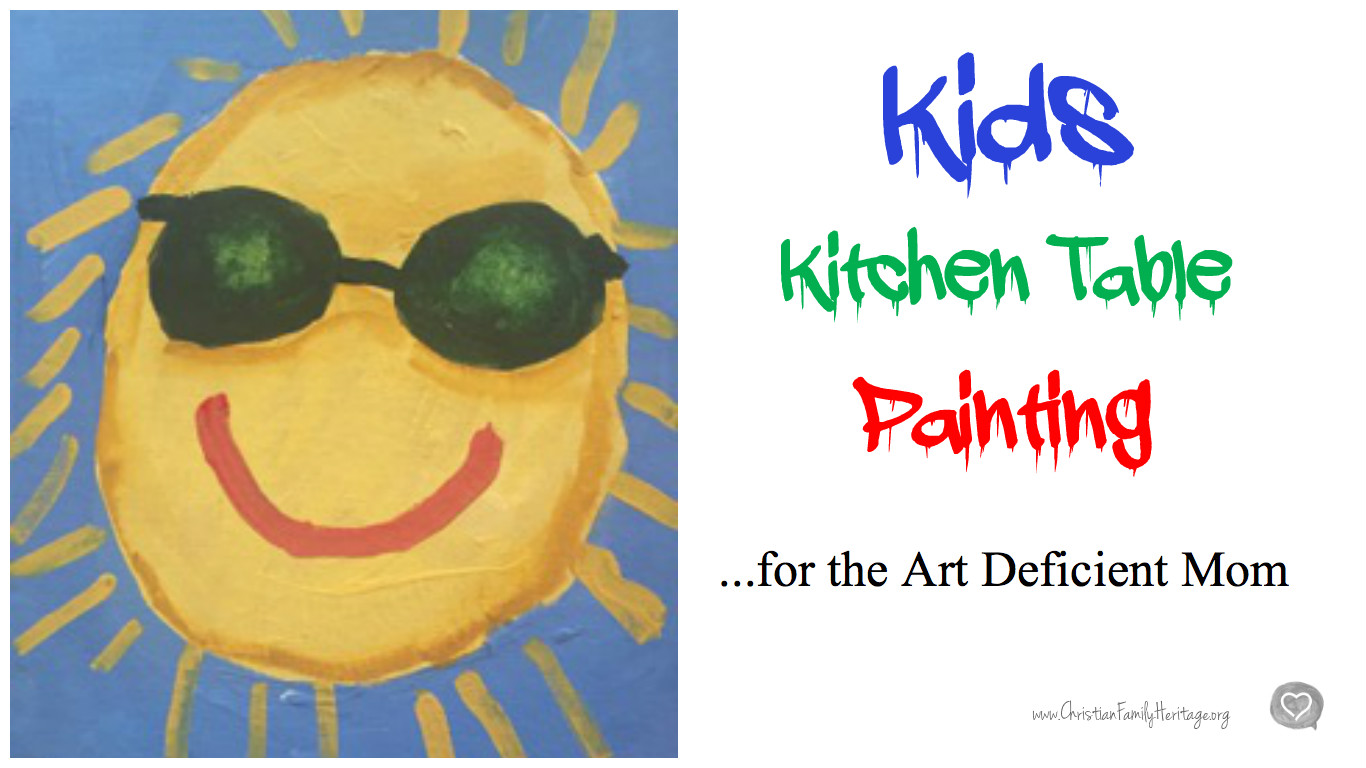
Kids love to paint, but most moms hate the thought of letting them. It’s too messy and too expensive and too hard to teach. If you are not a fan of letting your kids loose with an art project that involves paint and brushes, may I share a pretty simple idea that could have some pretty dazzling results? It’s based on the simplicity of color books and crayons, and the common skill of coloring within the lines. But your kids get to choose their own subject matter and paint within the lines instead.
I’ve used this format in my art classes for years and have found that most children (and their parents) are very proud of the finished art. You may even want to treat yourself to a painting of your own! Even Moms get to have fun sometimes : )
Supplies
- Acrylic paints in a variety of colors
Wait until you see what your child chooses for subject matter and then head to an art supply store and pick up the colors that you will need. I often use the flip-top acrylic paint manufactured by Ceramcoat, Apple Barrel or FolkArt from Hobby Lobby or Michaels. If you are painting for the first time, the basic colors include the following: red, blue, yellow, green, orange, purple, turquoise, white, black, and brown. Mixing any two of these produces most of the other colors.
- A canvas
An inexpensive choice is canvas covered cardboard – called canvas panel board, but some kids like the look of a real canvas stretched over a wooden frame. For beginners a 9 x 12 canvas may be a good in-between size. Large canvases take more perseverance to cover with paint corner-to-corner. Small canvases cause the subject matter to be so small that small hands have difficulty controlling the paint.
- Brushes
Do not go cheap on this part. It is impossible for kid-quality brushes to make a defined brush stroke and the bristles fall out and embed in the paint. Painting with an inferior quality brush is like trying to brush your hair with a broom. If an “economy package” of 10 brushes costs $8.95, you may want to steer clear and shop on. Quality brushes cost $5.00 – $20.00 each. For children’s projects I usually go with the middle to low end price and wait for a 40% off sale!
A good first set of brushes for the family might be a set of 3 – 4 brushes of various sizes. I like flat square bristles best but use round ones too. (See photo)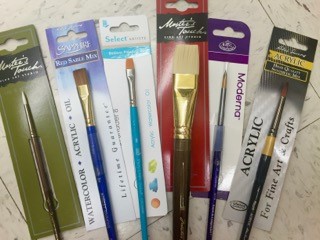
- Carbon paper
This is the old-fashioned stuff that people once used to make duplicate copies on a typewriter. It is available online and at office supple stores. Ten sheets of 8 ½ x 11” carbon paper have taken me through 30 years homeschool and art classes. Very handy
- A smock
This is very important because paint stains clothes. An old adult size T-shirt or button-up shirt reversed to button up the back works great.
- An old plastic cup or jar for water
- A folded paper towel
This absorbs the excess water from the brush as it comes from rinse water.
- Paper plates
These are handy disposable palettes.
- A cover for the table
For my art classes I use an old plastic table cover. Newspapers would also work.
- A blow dryer! (like you use to dry your hair)
This is not an absolute necessity, but I use one in all my art classes. That easily accessible, hot, strong air dries acrylic paint very quickly, indeed (usually within a minute or two), so that children can move on to a new color.
Variations
I have also used this technique with watercolor paint on good quality watercolor paper, and acrylic paint on a wooden surface and been pleased with the final product.
Instructions
- Decide what to paint
Have your child draw a simple outline of what she wants to paint. For instance, if your son likes football, he may enjoy painting a football on green turf. If it’s autumn, perhaps your daughter would like to paint a fall leaf or a pumpkin. Sometimes I choose the subject matter based on what we are studying in school. Many children draw with confident freedom. Even a four-year-old’s drawing of a house, flower, sun, or tree can translate into an adorable painting. I still display my children’s early paintings. They are adorable.
Think coloring-book simple. Landscapes and portraits are more difficult for young artists to paint than a single item on a plain, solid background (still life). The drawing should be about the same size as the canvas, so it transfers easily to a painting. But if the drawing is smaller than the canvas and you want to use it, some copy machines will enlarge an image.
If your child has an idea of what to paint, but he’s not sure how to design it, do a little research on Google Image. (Be careful here! You never know what lewd image may appear before your horrified eyes!) Discover what other photographers and artists have created. Looking at clipart may also be helpful. Choose several ideas that spark your child’s imagination. I like to print the best one or two of these to have on hand as my child paints. Again keep the ideas very simple.
If your child doesn’t like to draw, you could just let him choose a page from a favorite coloring book instead. Sometimes I sketch the idea for my children.
- Practice with crayons or markers.
Before breaking out the more expensive and messy art supplies, it’s a good idea to have your child draw and color a pre-painting all the way to the edges of the paper. It gives her the chance to choose her colors – so that you know which paint colors to buy and when painting commences, these decisions have already been made. Be sure to choose a pleasing color for the background. An unspoken rule in painting is that the naked canvas shouldn’t show at all. When we are short on time, I just pencil the color choices onto my child’s outline drawing.
- Use carbon paper to transfer your child’s drawing to the canvas.
Center the drawing over the canvas, then slip the carbon paper (carbon side down) between the drawing and the canvas. Use a sharp pencil to trace the main shapes of the drawing. When you remove the drawing and carbon paper – voila! There’s the canvas prepped for paint.
- Prepare the art area
Dress for painting and protect the painting surface. Set out the brushes. Fill a cup or jar half-full of tap water (to prevent a major washout if the cup is accidentally tipped) and place a folded paper towel next to the cup. Plug in a hair drier a little distance from the painting area. Pour a little puddle of the first color of paint onto a paper plate. Start with just a little because it’s easy to pour more paint, but very difficult to get unused paint back into the container. Just describing this makes me want to start a painting!
Stay tuned for Part Two – Let the painting begin…..


Leave a Reply